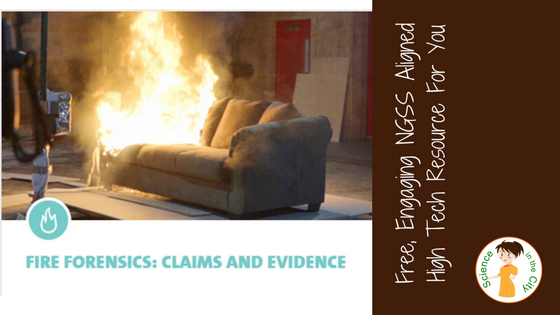
Free, Engaging NGSS Aligned High Tech Resource For You
If you are looking for a new and different, technology-rich activity to introduce students to a career in science, increase literacy in science, and practice using claim-evidence-reasoning (CER), I want to share a resource with you.
**Disclosure: This is a sponsored post, but all opinions are genuine and are my own.** #sponsored
I was asked to write a sponsored review of the
UL Xplorlabs Fire Forensics Module, and I am very pleased to share it with you! I also asked my sixth grade son to go through it and give his feedback.
Xplorlabs has made two modules that are free, STEM-focused, and NGSS aligned. They have supplementary hands-on investigations that could be used in the classroom, and tie to both safety and real-world problems. I looked specifically at the Fire Forensics Module and found it very engaging, and found it to provide a fun, interactive online environment for students to learn from real scientists.
What is included in the Fire Forensics Module?
The
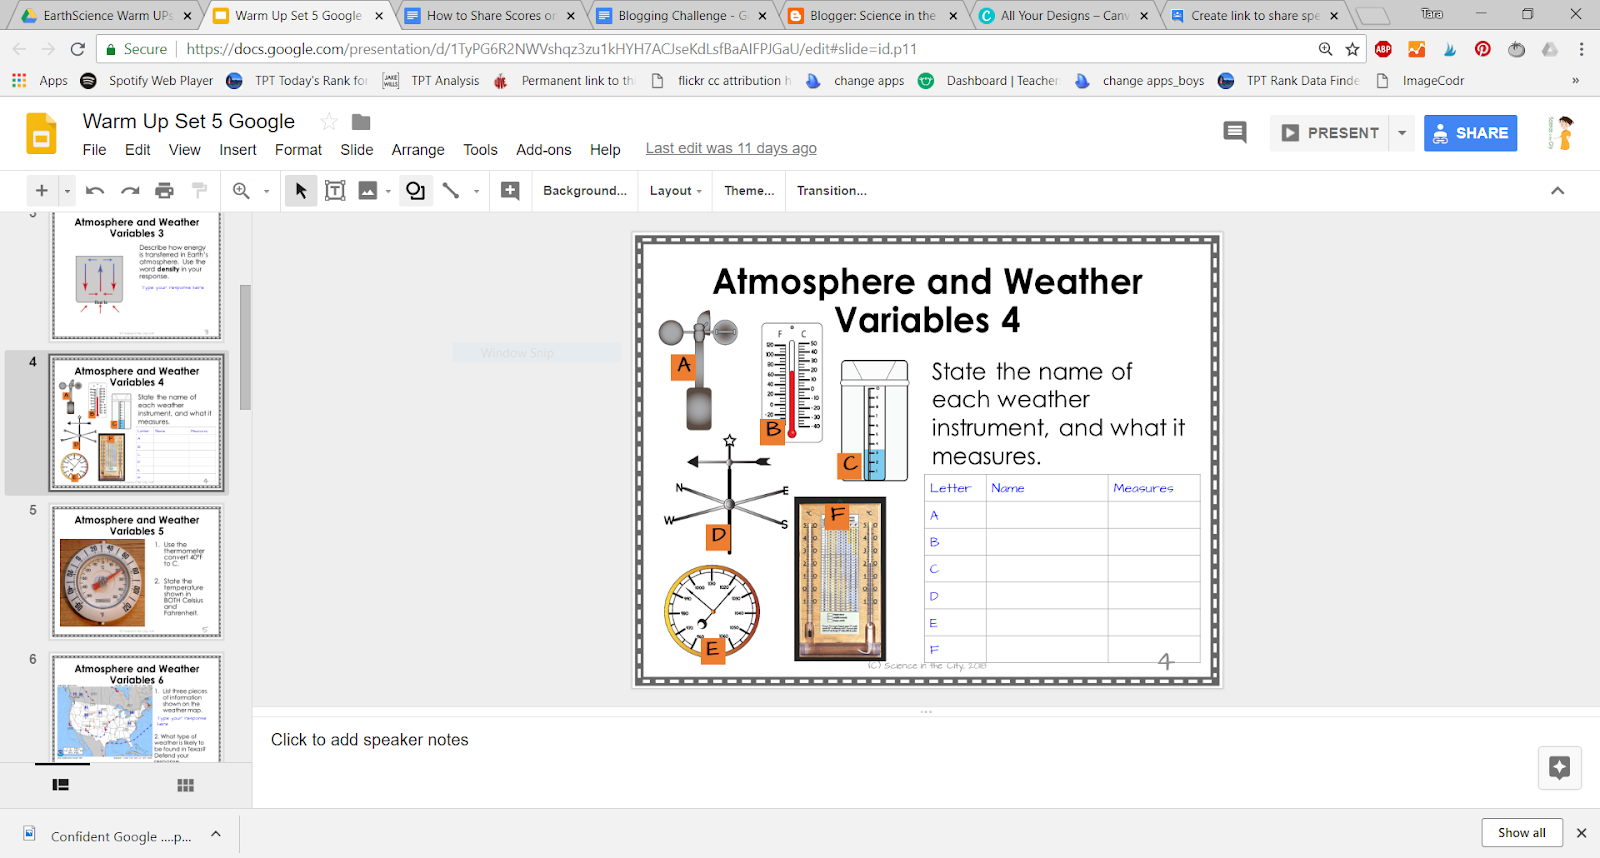
Fire Forensics Module is an interactive web-based lesson that teaches about fire, but also teaches about building an evidence-based claim as students go through the process of being a ‘fire investigator in training.’ It is “designed to provide students with the understanding of fire, fire dynamics, and fire behavior so that they can read a fire scene and build a claim for the fire’s location of origin and cause.” It includes videos, embedded practice quizzes, a model where the students and instructors analyze the fire together, and then a culminating activity where the students analyze the fire themselves, from evidence, and then submit their analysis along with claim, evidence, and reasoning to their teacher or print it out.
The module is very well scaffolded, with short (1-3 minute) videos from current fire investigators, education on the fire itself, and on the tools used for investigation. There are interactive activities and self-checks, and also supplements hands-on activities that can be used (but it works fine without it as well).
The content covered focuses on the basic science of fire, and the fire investigation process itself, but they also use this as a lens through which to teach and practice claim, evidence, reasoning, and the scientific method. Depending upon the extension activities chosen, you could also use this to practice graphing.
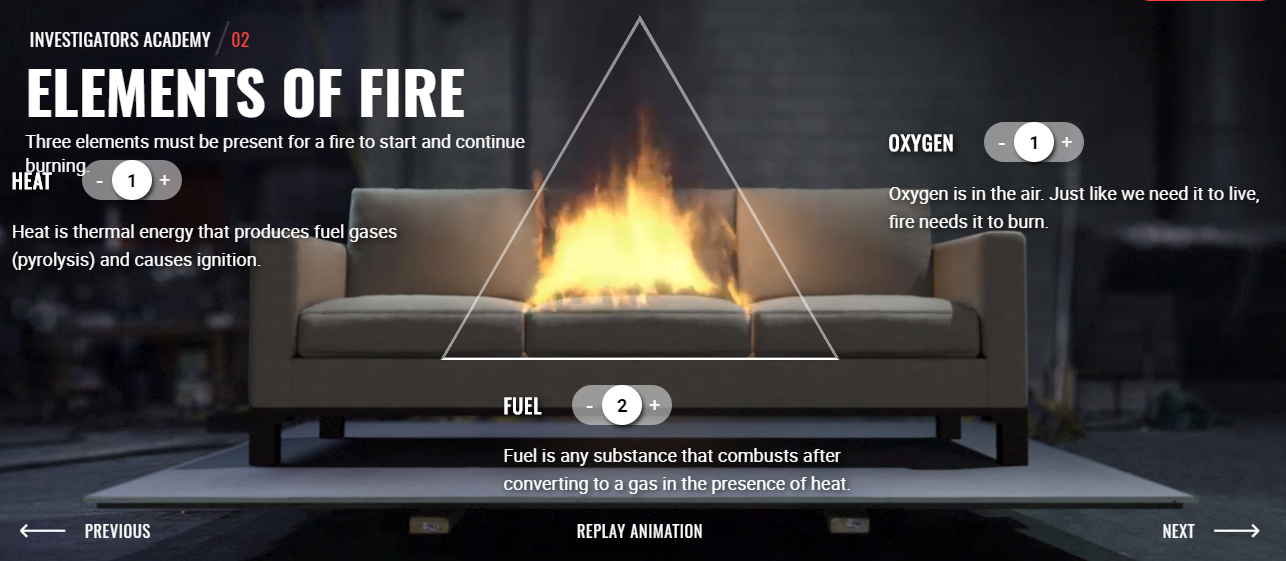
As students work through this module, they are first introduced to the job of fire investigators and why it is important. They enter the ‘investigator’s academy’ and learn some background about how fire is defined, how fire develops, and how it behaves. They will then go through a ‘model’ fire in the lab, and then investigate a case and build a claim, based on evidence and reasoning.
What’s great about it?
I really liked this module, and would not hesitate to use it with students. The videos are short, engaging, and fast-paced. The website is very professional and easy to navigate, while still being kid friendly. There are self-checks built in and interactives to keep students on track. If students miss formative assessment questions they are given explanations, and then try the questions again before moving on. I really like that it integrates the career piece. This can be so important for students to just see what else is ‘out there’ and available to them as a career.
The whole module builds on itself seamlessly, and integrates supplemental activities if you choose. However, you could easily use only part of the module, and could include or omit as many of the
extension activities as you choose. If, however, you do choose to include the extensions, they come with great teacher instructions, including materials list, roles, etc.
The whole module culminates with students solving a ‘case,’ establishing their claims, using evidence and reasoning to support it.
Feedback from my own middle schooler
This activity is geared towards middle school. I have taught middle school, but at the moment I’m teaching high school. I do, however, have a 6th grade son, so I asked him to go through at least some of the module and give me his feedback. He completed the first four sections during some free time. He liked it so much that he wants to go back and finish it, or check out the other module that they offer on his own! But he really liked the short videos, and the interactive charts in section 2 where you could modify the components needed for the fire and see how the fire changed (visually). He said he learned that the amount of heat, oxygen, and fuel changes how big the fire is, which he didn't know before. He thought all three had to be present, but didn’t know that the fire would change if there were different amounts.
He found the website easy to follow and thought the directions were very clear. He said he learned a lot, but the most interesting takeaway was that he had no idea there was such a job as a fire investigator. He said he could see his teachers doing this in science class, or even on a day where there is a sub because the students would be able to go through independently.
When would I use it?
As a teacher myself, I thought a lot about when I would use this activity. Some activities I’ve seen in the past are ‘fun,’ but really don’t fit with any curriculum. I think this one does, however. If you were teaching a forensics course, it is a natural fit, as well as a unit about careers. However, I think it would fit as a way to practice CER and using evidence. Because of the extension activities, it would be a good way to extend a unit on heat transfer, or even experimental design. Of course, it could also be a great activity to use with a sub, before or after the break, or any time you need to fill time. The module could take anywhere from two class periods to a week or more, depending upon how many of the extensions you use. There is one hands-on activity built into
the module in Section 3 (Live Burns) after the video, at the top under the link
There are also additional activities on their main website, under
Xtensions.
Things to consider?
This activity is great, but there are two caveats to keep in mind, as a classroom teacher, and they are pretty simple:
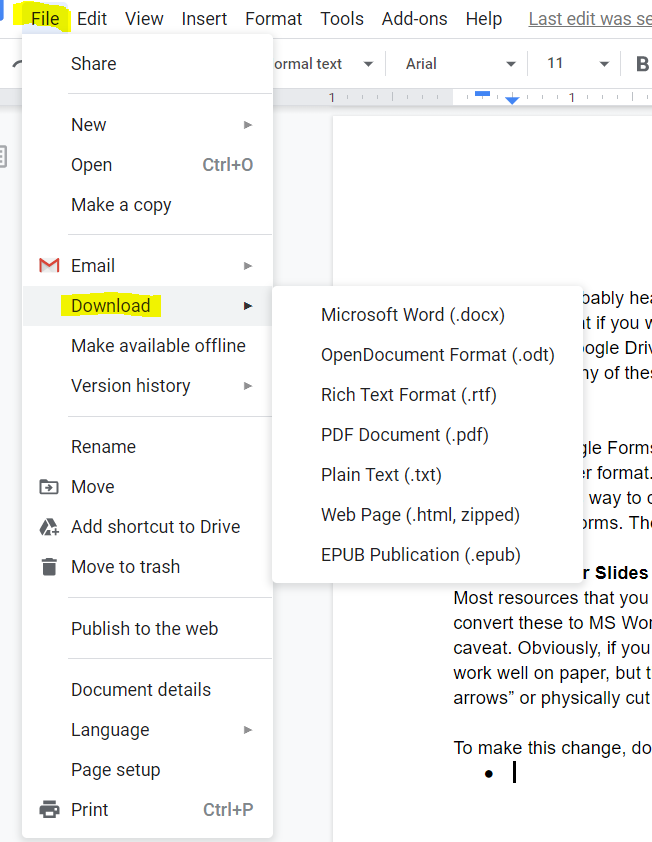
If YouTube is blocked at your school, you may run into problems. The videos are beautifully embedded, and look like part of the website, but they are coming from YouTube and won’t work if YouTube is blocked. You may need to download these videos and show them together, or download and give students a separate link, but that will disrupt the flow of the activity.
The student’s responses on the final culminating activity, where they submit their claim, will get printed or emailed to the teacher, but the rest of the activity is self-guided. This would be fine for most students, and it is very straightforward, but depending on your student’s needs you may want to make some type of guided notes to go with it, so that students have a reference point when they get the culminating activity, and also have accountability.
What to do next?
So where to go from here? Try it out! Go
here and check it out! If you do use it, I’d love to hear what you think either in the comments below, in my
Facebook Group, or anywhere else on social media or
email.